Bikepacking transforms a bicycle into a self-contained adventure machine, letting you explore remote trails and quiet backroads with everything you need strapped to your frame. Whether you're eyeing a weekend gravel loop or a week-long wilderness traverse, setting up your first rig doesn't have to be intimidating. This guide walks you through bike selection, essential gear, smart packing, route planning, and on-the-road strategies to get you rolling with confidence.
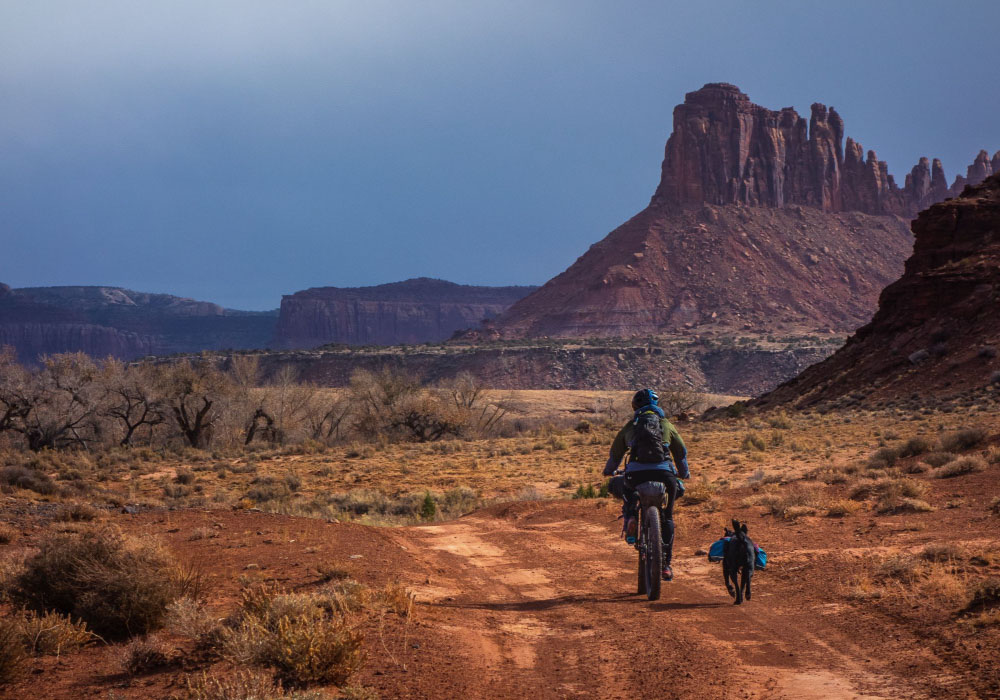
There's a particular kind of freedom that comes with riding away from the trailhead with everything you need loaded onto your bike. No shuttle, no support crew, no itinerary carved in stone. Bikepacking strips travel back to something elemental: you, your bike, and whatever lies ahead. It's a sport that has grown rapidly over the past decade, drawing in road cyclists curious about dirt, hikers who want to cover more ground, and adventure-seekers who've outgrown the car-camping comfort zone. But getting started can feel like a puzzle.
What bike do you actually need? How do you carry a tent, sleeping bag, food, and tools without turning your ride into a slog? And how do you plan a route that's challenging enough to be meaningful without being brutal enough to break you? This guide answers all of those questions in plain language, walking you through every major decision from choosing your steed to managing energy on day three when your legs are tired, and the trail is still long.
Choosing the right bike
Why the right bike matters
Your bike is the foundation of everything. A well-suited machine makes long days feel manageable and rough terrain feel less punishing. Get it wrong, and no amount of good gear will compensate. The key variables are the type of terrain you plan to ride, the weight you expect to carry, and how many days you'll be out.
Types of bikes for bikepacking
Different bikes suit different styles of riding. Here's a breakdown of the main options:
| Bike type | Best terrain | Key advantage | Typical tyre width |
|---|---|---|---|
| Mountain bike | Rough trails, dirt paths | Durable, excellent traction | 2.2" to 2.6" |
| Gravel bike | Gravel roads, light trails | Fast and versatile | 35mm to 50mm |
| Touring bike | Paved roads, loaded routes | Stable, carries heavy loads | 32mm to 45mm |
| Hybrid bike | Urban, light off-road | Comfortable, accessible | 35mm to 50mm |
For most first-timers tackling mixed surfaces, a gravel or hardtail mountain bike hits the sweet spot between efficiency and capability.
Key features to look for
Beyond bike type, certain features make a measurable difference once you're loaded and miles from the nearest town. Prioritize these when evaluating options:
- Frame material: Aluminum is light and affordable. Steel offers durability and road-damping comfort. Carbon is the lightest but the most expensive and least forgiving if damaged remotely.
- Tyre clearance: Wider tyres (at least 40mm) absorb bumps better and offer more grip on loose surfaces.
- Mounting points: More mounts for racks, bags, and water bottles give you more flexibility in configuring your kit.
- Gearing: Low gears are essential when you're carrying weight up steep climbs. A wide-range drivetrain is worth every penny.
- Brakes: Hydraulic disc brakes provide reliable stopping power in wet and muddy conditions.
- Saddle and contact points: A comfortable saddle and ergonomic grips reduce fatigue significantly over long days.
Budget considerations
Bikepacking bikes span a wide range of price points. Here's a realistic guide to what you can expect:
| Price range | What to expect |
|---|---|
| Under $800 | Entry-level, heavier frames, fewer mounts, mechanical brakes |
| $800 to $1,500 | Good durability, disc brakes, wider tyre clearance |
| Above $1,500 | Lightweight build, advanced components, wider gear range |
A used bike in good condition can be an excellent entry point. Budget additional funds for bags, upgrades, and accessories before your first trip.
Essential gear and accessories
Getting your kit right from the start
Smart gear selection is one of the highest-leverage decisions you'll make as a bikepacker. The goal is simple: carry everything you genuinely need, nothing you don't, and keep the overall weight manageable enough that you still enjoy riding. This section covers the three core categories: bags and storage, camping and cooking equipment, and safety and repair tools.
Bikepacking bags and storage
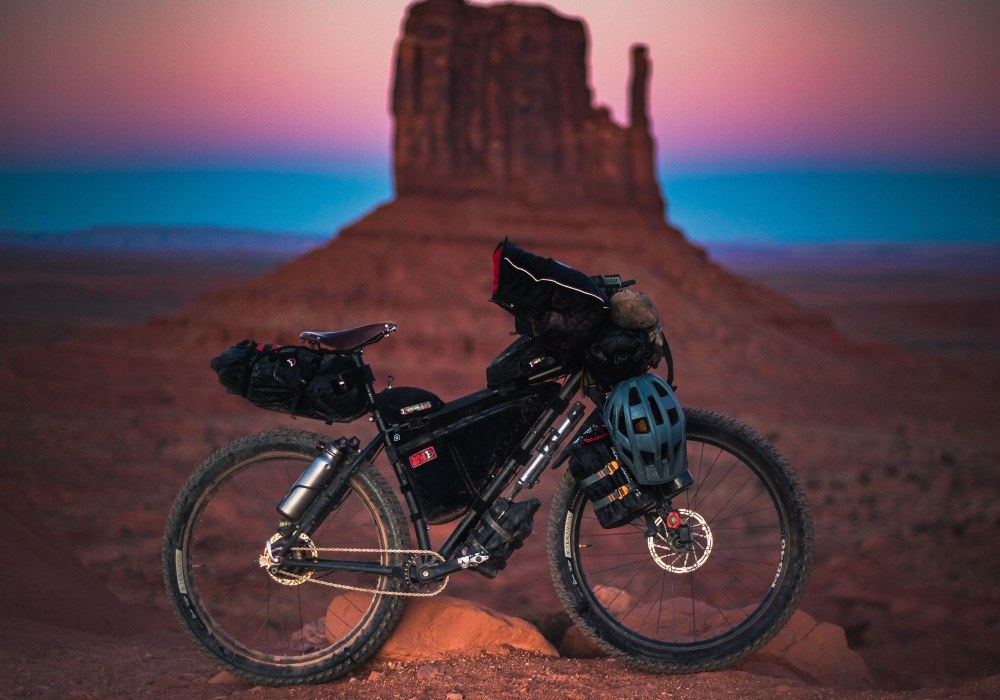
Bikepacking-specific bags attach directly to your frame and fork, eliminating the need for traditional racks and panniers on most setups. Each bag type serves a distinct function:
| Bag type | Location | Best for | Typical capacity |
|---|---|---|---|
| Frame bag | Inside the main triangle | Heavy items, tools, food | 5 to 10 litres |
| Handlebar bag | Front cockpit | Sleeping bag, light bulky items | 8 to 15 litres |
| Seat pack | Behind the saddle | Clothing, repair kit | 8 to 16 litres |
| Top tube bag | Along the top tube | Snacks, phone, wallet | 0.5 to 2 litres |
Opt for waterproof or water-resistant bags wherever possible. Weight distribution matters: keep heavier items low and centred near the frame to preserve handling.
Camping and cooking equipment
Keeping your shelter and sleep system light is one of the most effective ways to reduce your overall load. A single-person ultralight tent or bivy sack, a sleeping bag rated for the temperatures you expect, and a compact sleeping pad will cover your core needs without unnecessary bulk.
For cooking, a minimal setup works well on the trail. Essential items include:
- Compact tent or bivy sack
- Temperature-rated sleeping bag
- Inflatable or foam sleeping pad
- Ultralight stove with a small fuel canister
- A single pot, spork, and lighter
- Water filter or purification tablets
- Dehydrated meals, pasta, or easy-cook staples
Test your cooking setup at home before departing. You'll be surprised how much time and frustration this saves on the trail.
Safety and repair kits
A solid repair kit and basic first aid supplies are non-negotiable on a multi-day ride. These don't need to be heavy; they just need to cover the most common scenarios.
Bike repair essentials:
- Multi-tool with Allen keys and screwdrivers
- Spare inner tubes or tubeless plug kit
- Tyre levers
- Mini pump or CO2 inflator
- Chain tool and a few spare links
- Zip ties and a small strip of duct tape
First aid basics:
- Adhesive bandages and gauze
- Antiseptic wipes
- Pain relievers (ibuprofen or paracetamol)
- Blister treatment (moleskin or gel pads)
- Any personal medications
Carry identification and emergency contact information. A small headlamp or clip-on light is worth including for unexpected late finishes or emergency repairs after dark.
Packing your bike efficiently
The logic behind weight distribution
A poorly packed bike handles unpredictably, especially on technical terrain or in crosswinds. The general principle is to keep weight low and centred, with heavier items close to the frame and lighter, bulkier items further out. A reasonable target is roughly 40% of the load on the front end and 60% on the rear, though this will vary depending on your bag setup.
| Bag location | Ideal load type | Notes |
|---|---|---|
| Frame bag | Heavy and dense items | Closest to the centre of gravity |
| Handlebar bag | Light but bulky | Avoid overloading the front |
| Seat pack | Moderate weight | Balance side to side evenly |
| Top tube bag | Very light, frequently accessed | Snacks, navigation, cards |
Organizing gear for easy access
Good organization saves time on the trail and reduces the frustration of digging through bags at the end of a long day. A practical system might look like this:
- Handlebar bag: Sleeping bag, camp shoes, down jacket
- Frame bag: Food, fuel canister, heavy tools
- Seat pack: Clothing, rain gear, first aid kit
- Top tube bag: Snacks, phone, lip balm, cash
Use small dry bags or stuff sacks within your larger bags to group items by category. Label them if it helps. The goal is to know exactly where everything is without unpacking everything.
Balancing comfort and capacity
Overloading your bike is one of the most common beginner mistakes. A heavy rig affects handling, increases fatigue, and can make the whole experience feel like work rather than an adventure. Aim to keep your total loaded weight (bike, gear, and water) below what feels natural to control on rough terrain.
Here's a comparison of common gear choices that affect weight significantly:
| Gear item | Standard option | Lightweight option | Weight saving |
|---|---|---|---|
| Sleeping bag | Synthetic, 1.4 kg | Down ultralight, 700 g | ~700 g |
| Shelter | 2-person tent, 2.3 kg | 1-person ultralight, 900 g | ~1.4 kg |
| Clothing | Multiple heavy layers | Merino base layers, shell jacket | ~500 g |
| Tools | Full kit | Minimal essential tools | ~300 g |
Small savings across multiple items add up quickly. Test your full setup on a loaded day ride before your first overnight trip.
Planning your route
Why route planning deserves real attention
The route shapes everything: your daily distance, the terrain you'll face, where you'll sleep, and how much water you'll carry. A well-planned route matches your fitness and experience level, accounts for resupply points and water sources, and leaves room for the unexpected. A route that's too ambitious sets you up for exhaustion; one that's too easy might leave you wanting more.
Selecting suitable trails
Start by matching the trail difficulty and surface type to your current fitness and bike setup. Research routes via dedicated platforms like Komoot, Bikepacking.com, or the Adventure Cycling Association. Community reviews and GPX tracks are enormously helpful for first-timers.
When evaluating potential trails, look for:
- Trail difficulty: Easy, moderate, or technical, based on elevation and surface
- Surface type: Asphalt, gravel, dirt, singletrack, or mixed
- Camping options: Designated sites, backcountry, or hut-to-hut
- Water sources: Streams, towns, or the need to carry a significant supply
- Access points: Start and finish logistics, shuttle options if needed
A sample comparison of route types:
| Route | Distance | Difficulty | Surface | Camping |
|---|---|---|---|---|
| River loop | 70 km | Easy | Gravel | Designated sites |
| Mountain traverse | 95 km | Hard | Rocky/dirt | Backcountry |
| Forest connector | 50 km | Moderate | Dirt/gravel | Designated sites |
For your first trip, err on the conservative side. A shorter, well-documented route lets you dial in your setup without the pressure of covering big kilometres.
Considering terrain and distance
Realistic daily distance estimates depend heavily on terrain and your loaded pace. Flat paved or gravel roads allow much longer days than steep technical singletrack. Here's a rough reference:
| Terrain type | Average pace | Realistic daily range |
|---|---|---|
| Flat paved road | 18 to 22 km/h | 90 to 120 km |
| Gravel or dirt road | 13 to 16 km/h | 60 to 80 km |
| Technical singletrack | 8 to 12 km/h | 30 to 55 km |
Build rest time, meals, and camp setup into your daily plan. Overestimating your pace leads to late arrivals, fatigue, and poor decisions.
Mapping and navigation tools
A multi-layered navigation approach is the most reliable. Paper maps don't require battery power or signal; digital apps provide dynamic routing and real-time position.
| Tool | Strengths | Limitations |
|---|---|---|
| Dedicated GPS device | Accurate, durable, long battery life | Higher cost, extra weight |
| Smartphone app (Komoot, Gaia GPS, Ride with GPS) | Feature-rich, familiar interface | Battery drain, signal dependency |
| Paper map and compass | No power needed, always reliable | No real-time updates, harder to read on the go |
Download offline maps and mark key waypoints (campsites, water sources, bailout options) before you leave cell range. Practice navigating with your chosen tools on local rides first.
Preparing for the ride
Training and conditioning
Physical preparation makes a real difference on days two and three of a multi-day trip. Start structured riding at least four to six weeks before your departure, progressively increasing duration and load.
| Week | Ride duration | Focus |
|---|---|---|
| 1 to 2 | 45 to 60 min | Base endurance |
| 3 to 4 | 75 to 90 min | Add hills and distance |
| 5 to 6 | 2+ hours | Practice with full gear load |
Include at least one loaded ride per week in the final two weeks. Your body needs to adapt to the saddle time, and you need to know how your bike handles when fully packed.
Cross-training activities like hiking, swimming, or strength work support recovery and fill the gaps between ride days.
Pre-ride bike maintenance
A thorough pre-trip check prevents the majority of mechanical problems. Work through this list at least a few days before departure so you have time to source any parts:
- Tyres: Inspect for cuts or embedded debris; inflate to the correct pressure
- Brakes: Check pad wear and cable tension; replace worn components
- Drivetrain: Clean and lubricate the chain; confirm smooth shifting across all gears
- Bolts and fasteners: Tighten all rack, bag, handlebar, and saddle mounting points
- Lights: Test front and rear lights for function and battery level
If you're not comfortable performing these checks yourself, a quick pre-trip service at a local bike shop is money well spent.
On the road
Managing energy and hydration
Hydration and fuelling have an outsized effect on how you feel and perform. Aim for roughly 500-750 ml of water per hour of riding, adjusting for heat and exertion. Carry a filter or purification tablets if you'll be refilling from natural sources along the route.
For food, frequent small portions work better than infrequent large ones:
| Timing | Recommended action |
|---|---|
| Pre-ride | Solid meal rich in carbohydrates |
| Every 45 to 60 minutes | Snack on carbs, sip water |
| Post-ride | Balanced recovery meal with protein |
Good snack options include energy bars, dried fruit, nuts, jerky, and cheese. High-calorie, compact, and non-perishable are the three criteria to shop by.
Setting up camp quickly
A consistent camp routine saves time and reduces stress, especially on evenings when you arrive tired or in fading light. The sequence matters:
- Scout and clear your site before unpacking anything
- Lay down your tent footprint or ground sheet
- Assemble poles and pitch the tent body
- Stake corners and attach the rainfly if conditions call for it
- Arrange the sleeping pad and bag inside
- Set up cooking gear only after shelter is sorted
Keep your headlamp somewhere accessible rather than buried in a bag. Most delays at camp come from not being able to find things.
Handling unexpected challenges
Mechanical issues and weather changes are part of bikepacking. Staying calm and working through problems methodically is a genuine skill that develops with experience.
| Challenge | First response |
|---|---|
| Flat tyre | Remove wheel, replace or patch tube, re-inflate and check for cause |
| Sudden rain | Layer up, find shelter if needed, protect electronics and down gear |
| Navigation confusion | Stop, consult the GPS and paper map, and backtrack if uncertain |
| Wildlife encounter | Stay calm, make noise, move away slowly, do not run |
Practice the most common fix (changing a tube) until it takes less than 5 minutes. Knowing you can handle it makes the whole trip feel less risky.
Where the trail becomes the point
Bikepacking rewards preparation, but it also rewards improvisation. The best trips tend to combine thoughtful planning with a genuine willingness to adapt when things don't go as expected. An unscheduled detour leads to a viewpoint you wouldn't have found otherwise. A slower day becomes the day you remember most. That balance between structure and spontaneity is, in many ways, the heart of the sport.
Start simpler than you think you need to. A two-night loop on local trails with a stripped-down kit teaches you more about your setup than any gear guide can. You'll come home knowing exactly what to add, what to leave behind, and where you actually want to go next. The progression from cautious first-timer to confident long-distance bikepacker happens faster than most people expect, and it starts with that first loaded ride out of the trailhead.